Getting Started
This manual guides you through the first steps of using rationally. it explains how to document a decision in Visio using rationally’s decision viewpoint.
Prerequisites
- You need to have at least Microsoft Visio 2016
- You need to have *rationally installed on your machine.
You can verify if rationally has been installed correctly in the following ways. It should be listed under “add or remove programs “ in the Window’s control center and it should be listed as an add-in in Visio itself. You can verify this by navigating to “File/Options/add-ins”. Under Active Application Add-ins, rationally-visio should be listed.
Documenting your first decision
1) Open Microsoft Visio
Once you have opened Visio, an overview of templates will be shown to you. These templates are intended to save you some work setting up a document. They can contain some shapes in their sheet, so that you don’t have to add them yourself and they can open stencils for you, so that you have quick access to shapes relevant to the document you are designing.
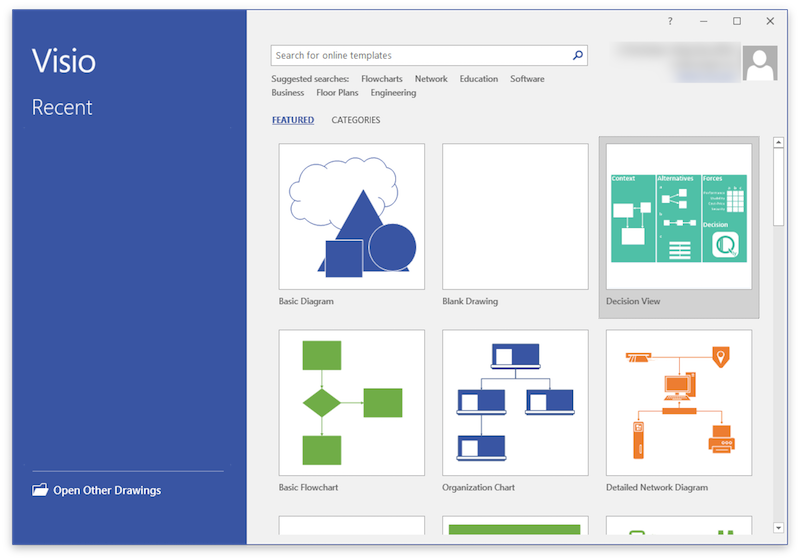
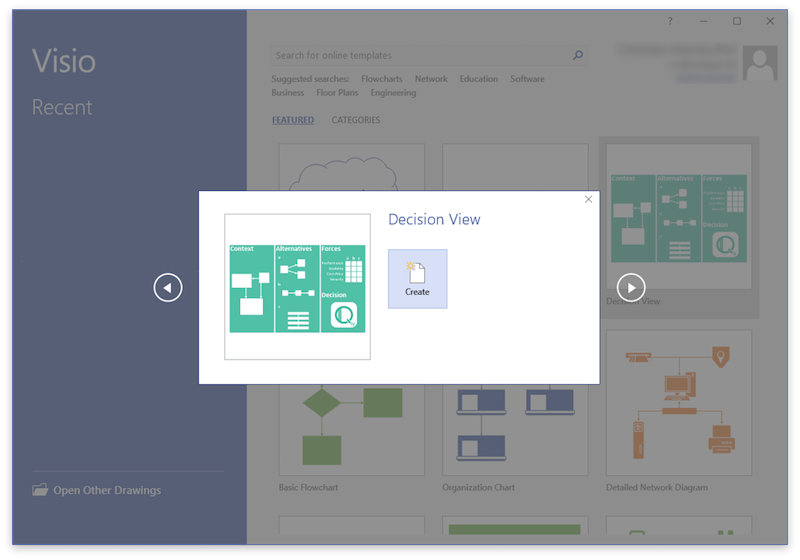
2) Select the decision view template .
In the template overview, the decision view should be visible. If so, select it. If not, you can find it under C:/Program Files/rationally-visio/ You can manually open the template by clicking the icon in the right bottom of the overview that says “New from existing…”.
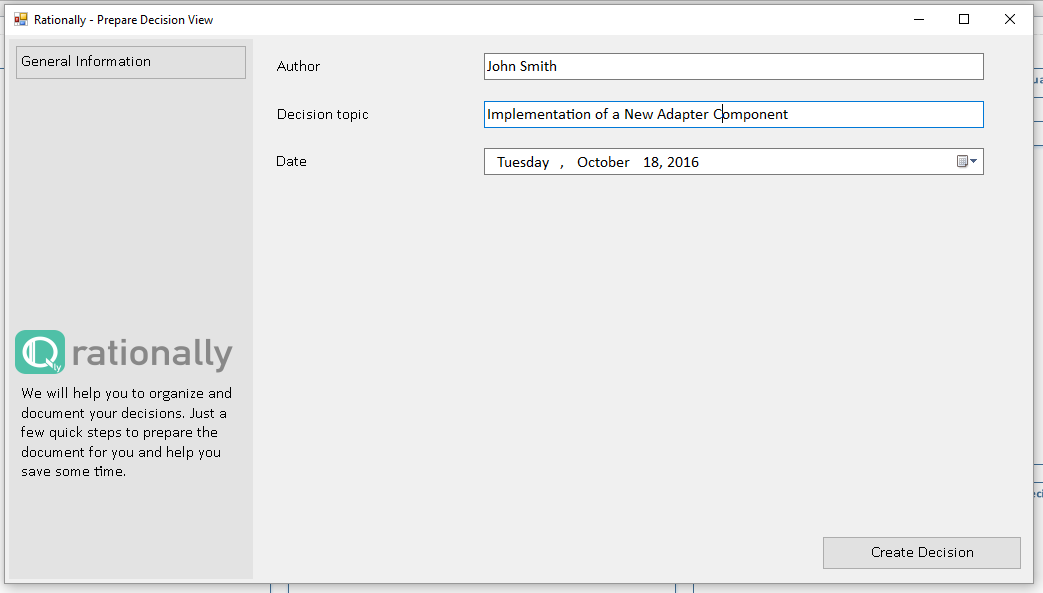
3) Fill in general information about the decision.
After the document has been created, a wizard guides you through the first steps of documenting your decisions. This includes general information like the decision’s name and topic as well as the author and the date of the decision.
The author of the decision document is not necessarily the same person that is responsible for the decision. The main responsible for a decision can be indicated on the decision document under “Involved Stakeholder”.
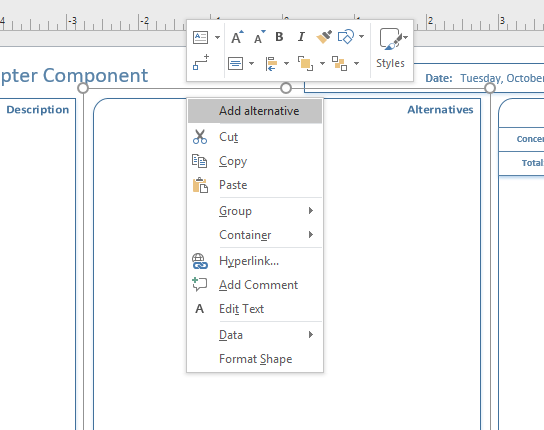
4) Adding considered alternatives.
The general information that you filled in is the first content that is shown on your decision sheet. The next step is to add candidate solutions/implementations, or Alternatives. These describe different solutions for the problem you might be solving, or more general: different strategies. To add an alternative, select the Alternatives-container by left-clicking it once (close to its borders). Once it is selected, sizing controls will appear around it. Now, right-click on the selected container and pick the option “_Add alternative_” from its context menu.
6) Start adding content to the sheet.
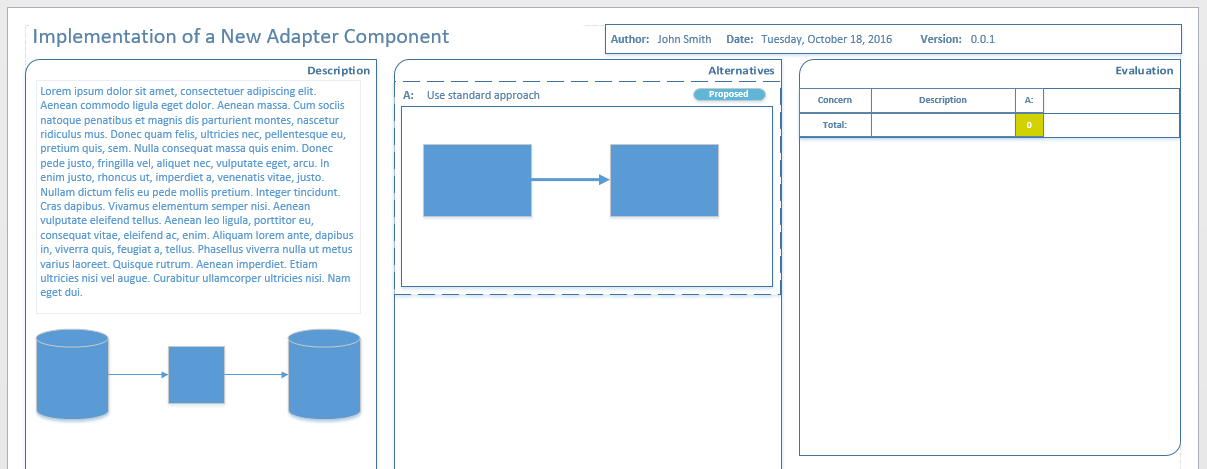
Now that you know how to perform the most important steps, you can start adding content. For example describing the decision you are documenting in the Description area, or describing the Alternatives you are adding.
But Rationally offers a lot more. For example, you can add related documents on the bottom of the sheet in the Related Documents area, or you could compare different alternatives in the Evaluation area, by adding forces and rating your alternatives.
This manual provided you with some basic start up steps for documenting decisions using rationally. We will describe different components in more detail in other manuals.